
ℹ Introduction
How to Get List of Hard Drives in Flutter Windows app, this is the topic of today’s discussion. I faced a situation in my development journey where I needed a list of available hard drives on my Windows device. But I couldn’t find any solutions for this purpose since Flutter was mainly released as a mobile application development framework, desktop platforms haven’t been their primary focus. Now you might be wondering is there a package for that? Yes, there are a few. However, being someone who likes to have control over his development tools, I went ahead and developed my own function for extracting a list of available hard drives, and today I will teach you how you can do that too.
Getting Started
- In your Flutter project’s
libfolder, create a new folder calledutil - In
utildrive_tool.dart - Now let’s create our tool that will fetch drive list
💾 drive_tool.dart
In drive_tool.dart paste the following code snippet
import 'dart:convert';
import 'dart:io';

class DriveTool {
  /// Utility Function That Creates The List of Drives
  static Future<void> _createDriveList() async {
    // CMD command variables
    var cmd = "cmd";
    var directoryPath = Directory.current.path;
    var outputFilePath = '$directoryPath\\directory.txt';

    // CMD command arguments
    List<String> args = [
      '/c',
      'wmic',
      'logicaldisk',
      'get',
      'caption',
      '>',
      outputFilePath
    ];

    await Process.run(cmd, args);
  }

  /// This Function Will Return The List of Available Drives On The Windows Device
  static Future<List<String>> getDriveList() async {
    // After creating drive list
    return await _createDriveList().then((value) {
      List<String> driveList;
      File driveFile = File("directory.txt");

      // Read drive data
      String driveString = driveFile
          .readAsBytesSync()
          .buffer
          .asUint16List()
          .map((codeUnit) => String.fromCharCode(codeUnit))
          .join();

      // Cleanup and preprocess the drive data
      driveList = const LineSplitter()
          .convert(driveString.toString().trim().replaceAll("       ", ""));

      // Filter out the hard drives
      List<String> filteredList = [];
      for (var element in driveList) {
        if (element.length <= 2) {
          filteredList.add(element);
        }
      }

      // Delete the file that contains drive data
      driveFile.deleteSync();

      // Return filtered drive list
      return filteredList;
    });
  }
}
Explanation
In the code snippet above, we have created a class by the name of DriveTool whose purpose is to get the list of hard drives on the Windows device on which the flutter app is running. Now let’s see how everything ties in together.
_createDriveList: This is a private utility function that won’t be accessible to anyone outside this class. Its purpose is to dispatch a Windows Command Prompt process that will utilize Windows Management Instrumentation (WMI) Command-Line tool. Using this tool, the list of logical drives on the Windows device can be obtained. Also, an output path is provided for the process to dump all the data into.getDriveList: Now we have the public function that will act as an interface to obtain drive list. As previously discussed, the_createDriveListfunction will be utilized here. After_createDriveListexecution is completed, the drive data is read from the file where it was dumped. Next, the dump file is cleaned up and preprocessed. After the cleanup, the hard drives are filtered out, finally the file is deleted and the drive list is returned to the caller.
🧪 Testing The Tool
Now that we’re done with the tool, let’s see it in action. Go to your Flutter project’s main.dart file and paste the following code snippet
import 'package:flutter/material.dart';
import 'util/drive_tool.dart';

void main() {
  runApp(const MainApp());
}

class MainApp extends StatelessWidget {
  const MainApp({super.key});

  @override
  Widget build(BuildContext context) {
    return const MaterialApp(
      home: Scaffold(
        body: Center(child: DriveDisplayWidget()),
      ),
    );
  }
}

class DriveDisplayWidget extends StatefulWidget {
  const DriveDisplayWidget({
    super.key,
  });

  @override
  State<DriveDisplayWidget> createState() => _DriveDisplayWidgetState();
}

class _DriveDisplayWidgetState extends State<DriveDisplayWidget> {
  late List<String> driveList = [];

  @override
  Widget build(BuildContext context) {
    return Center(
      child: Column(
        mainAxisAlignment: MainAxisAlignment.center,
        children: [
          TextButton(
              onPressed: () => _fetchDriveList(),
              child: const Text("Fetch Drive List")),
          Column(
            children: List.generate(
              driveList.length,
              (index) => Text(driveList[index]),
            ),
          )
        ],
      ),
    );
  }

  void _fetchDriveList() {
    DriveTool.getDriveList().then((value) => setState(() {
          driveList = value;
        }));
  }
}
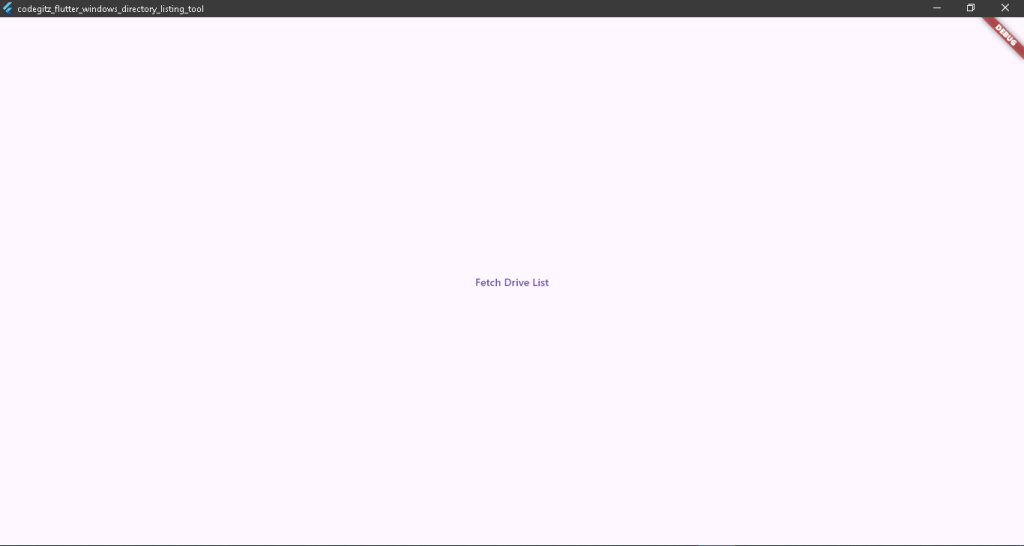
Now after building the project you should see this screen.
On clicking the “Fetch Drive List” this is the result I got.

As evident above, we now have a complete list of drives on the Windows device.
👨💻 Source Code
To access the source code of this project, go to the project’s Associated Github Repository
📝 Conclusion
In this post, we learned how to utilize Flutter’s process library and Windows Command Prompt to get list of hard drives on a Windows device from our Flutter app in a few easy steps. That’s it for this post, if this post was helpful to you, you may like my other posts in the Flutter Archives. Thank you for reading.